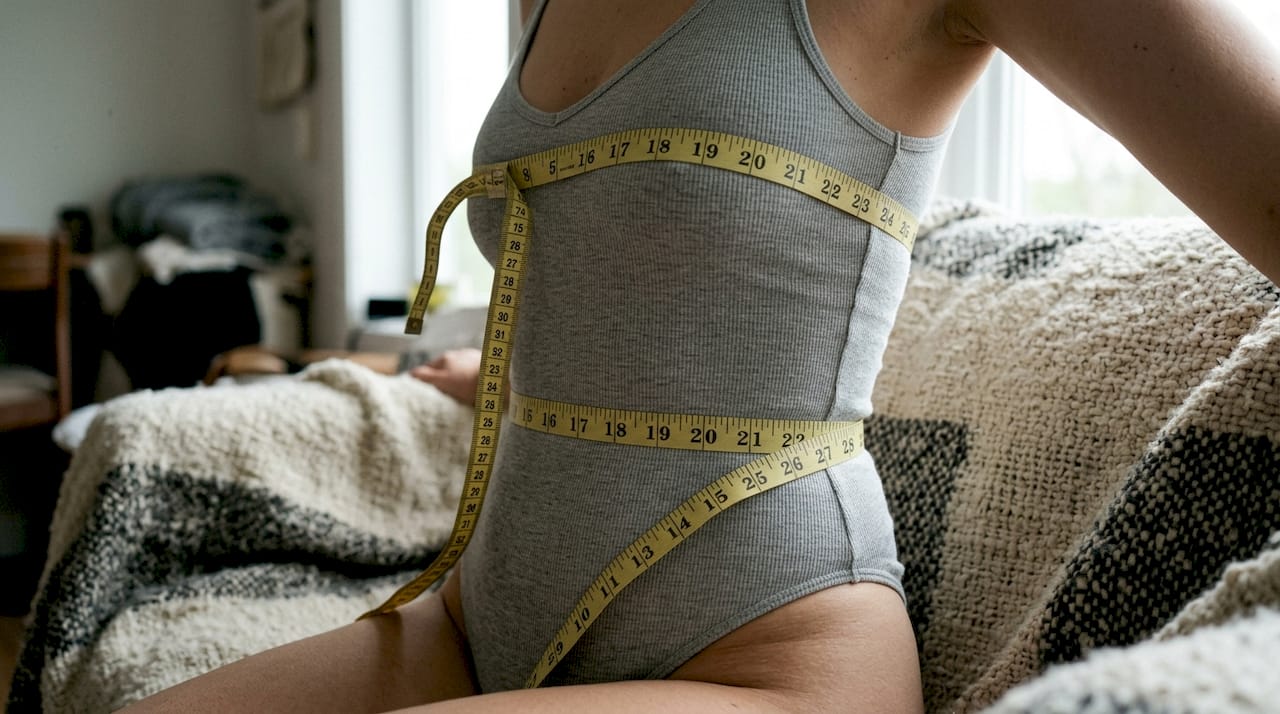
Measure your bust at its fullest point, your natural waist at its narrowest, and your hips at their widest, standing relaxed with the tape level and snug (never tight). Take each one twice and use the more consistent reading. That single habit, more than any tool or technique, is what separates an accurate set of bust waist hip measurements from a guess.
TL;DR:
- Accurate measurements depend on consistent tape placement, checking landmarks from different angles, and avoiding bulky clothing or irregular breathing during the process.
- Bust, waist, and hip sizes should be measured at specific, recognized points and repeated at least twice to ensure reliability.
- Small errors like measuring over thick clothing or at different times of the day can shift results by two to three inches, potentially leading to wrong size choices.
- When selecting clothing, always compare your measurements to the specific size chart for each style rather than relying on generic sizing.
- Buying from brands that provide detailed fit guidance and offers returns reduces the risk of sizing mistakes, especially when measuring with care.
Table of Contents
- Getting ready to measure bust, waist and hip measurements
- How to measure your bust
- How to measure your natural waist
- How to measure your hips
- Why your numbers might be wrong (and how to fix it)
- Using your measurements to choose the right size
- How JV London turns three numbers into the right fit
- Shop with confidence once you’ve got your numbers
- A few more places to check your numbers
- Sources
Getting ready to measure bust, waist and hip measurements
You need very little kit: a soft, flexible fabric tape measure (not the rigid metal kind from a toolbox), a mirror or a helper, and a non-padded, well-fitting bra or thin fitted top. Skip the jumper. Bulky layers add inches you don’t actually have.
Morning, after you’ve been to the bathroom and before a big meal, tends to give the most stable reading, since bloating and clothing changes can shift readings slightly through the day. Stand naturally, feet together for hip and waist readings, and breathe normally throughout. Don’t hold your breath or pull your stomach in. The tape should sit close to the skin with about one finger’s width of ease. If it’s digging in, it’s too tight.
Quick checklist before you start:
- Non-padded bra or thin top, no bulky clothing
- Soft tape measure, not a rigid ruler-style one
- Mirror positioned so you can check the tape stays level from front and side
- A pen and paper to log each reading as you go
Pro Tip: Pin one end of the tape to your top before you start. It stops the tape slipping while you wrap it round yourself one-handed, and it keeps the starting point fixed so your reading doesn’t creep.
How to measure your bust
- Wear a non-padded, well-fitting bra. Padding or an ill-fitting bra will inflate the number.
- Wrap the tape around the fullest part of your bust, usually across the nipple line, keeping it parallel to the floor all the way round.
- Check in the mirror from the side. A tape that dips at the back is the single most common cause of an inaccurate bust reading.
- Keep the tape snug but not compressing tissue, and read the number after a normal exhale, not a held breath.
- Repeat two to three times and use the most consistent figure.
Bust and waist together also matter if you’re checking bra fit rather than just dress sizing. The gap between your band measurement (under the bust) and your bust measurement roughly determines your cup size, which is why bust, waist and hip landmarks are defined so specifically in fashion sizing: the fullest chest point, not an approximate area.
How to measure your natural waist
- Find your natural waist by bending gently to one side. The crease that forms is usually the narrowest point of your torso, sitting between your lowest rib and the top of your hip bone.
- Wrap the tape around that point, keeping it level all the way round, not angled up at the back or down at the front.
- Breathe normally and let your stomach sit naturally. Don’t suck in. It’s the single biggest reason waist measurements come back smaller than the clothes then fail to fit.
- If you can’t feel a clear indent, measure roughly one inch above your navel instead. That’s the standard fallback used by most size charts.
- Take two or three readings and record the one that repeats.
Pro Tip: Measure your waist at the end of a normal exhale, standing exactly as you would when getting dressed. Measuring after you’ve just laughed, tensed, or twisted to check the mirror will throw the number off by a centimetre or more.
How to measure your hips
- Stand with your feet together, weight evenly balanced, arms relaxed at your sides.
- Wrap the tape around the fullest part of your hips and seat, typically 6 to 9 inches below your hip bone rather than at the hip bone itself.
- Keep the tape horizontal right round your body, including the most projected part of your bottom, which is easy to miss if you only check the front view in the mirror.
- If you’re not sure where your fullest point actually sits, measure at a couple of different depths and keep the largest consistent reading rather than the first one you get.
- Repeat the whole process twice to confirm the figure before you write it down.
This matters more for pear-shaped bodies, where the fullest point can sit noticeably lower than the standard guidance assumes, and a rushed measurement taken too high underestimates the true hip circumference.
Why your numbers might be wrong (and how to fix it)
Most inaccurate measurements come down to a handful of repeatable errors, and small placement mistakes can shift a result by 2 to 3 inches, which is enough to bump you into the wrong size bracket entirely or misclassify your shape in a body-type calculator.
- Angled tape: dips at the back or sides, usually caught only by checking in a mirror from multiple angles.
- Measuring over thick clothing: adds false bulk, especially over jumpers or structured tops.
- Inconsistent landmarks: measuring your waist an inch higher one day and lower the next.
- Sucking in or holding your breath: shrinks the waist reading artificially.
- Measuring at different times of day: bloating and hydration shift numbers by a centimetre or two.
If a reading looks off, don’t just accept it. Re-measure using a mirror or ask someone to check the tape is level for you, and keep a simple log with the date, so you can spot whether a number has genuinely changed or you’ve just measured it inconsistently.
Using your measurements to choose the right size
Different garments hinge on different numbers. A structured top or fitted dress bodice lives or dies by your bust measurement, while your natural waist usually governs fit for trousers, skirts and bodycon dresses. When your bust, waist and hip figures fall into different size bands on a chart, retailers generally recommend sizing to the largest of the three and adjusting the rest with tailoring, a belt, or a style with more ease built in.
Before you buy, compare your figures directly against the product’s own size chart rather than a generic sizing assumption, and check the product description for notes on stretch, bias cut or intended ease. A conversion table helps when charts mix units:
Your waist-to-hip ratio, or WHR, is simply your waist measurement divided by your hip measurement. A 34 inch waist and 40 inch hips gives a WHR of 0.85, a figure sometimes used as a rough shape indicator rather than any kind of clinical measurement. It’s a useful number for understanding your proportions when you’re choosing between fitted and relaxed silhouettes, nothing more.
How JV London turns three numbers into the right fit
Getting your bust, waist and hip measurements right only pays off if the size chart you’re checking them against is honest, which is why JV London publishes detailed sizing notes and fit guidance alongside its dresses, sets and separates rather than a single generic chart across every style. It’s a small thing that quietly cuts down on avoidable returns.
Sitting between two sizes happens to almost everyone at some point, and it’s rarely a sign you’ve measured incorrectly. Free UK shipping and 30-day returns exist precisely for that scenario, so a considered size choice never has to feel like a gamble. Product-specific fit notes or a quick message to customer support usually settle any doubt before you order.
— Mykola
Shop with confidence once you’ve got your numbers
Once you’ve got your bust, waist and hip figures written down, put them to work. JV London’s belted midi dresses and floral midi sundresses each list their own fit guidance. You are checking your real measurements against that specific style rather than a generic size label.

If you’re between two sizes on a structured piece like the halter mini dress, free UK shipping and 30-day returns mean trying a size on at home costs you nothing but a little patience. Pair your outfit with finishing pieces like the woven tote bag, where fit isn’t a factor at all. Browse the current cardigans collection, measure yourself against the size chart on the product page, and order the size that matches your largest relevant number. If it’s not right, send it back within 30 days, no complications.
A few more places to check your numbers
For a second opinion on technique, First Rise Outfitters’ sizing guide covers another retailer’s measuring method worth comparing against your own results. If you’re tracking measurements over time rather than for a single purchase, EmpowerFit Women’s guide to body measurements has practical notes on consistency. For applying numbers to a specific order, JV London’s guide to online fashion orders is worth a read before you check out.
Sources
- Bust/waist/hip measurements — Wikipedia
- Your bust waist hip measurement guide: Get the perfect fit | ClothME Blog
- How to measure your body type: Bust, waist & hips guide